Saturday, April 25, 2020

Making a Pandemic Mask


 Start with an eleven inch circle. This is enough to make two masks with a different color for lining, or one mask all the same color.
As an alternative, make a quarter circle pattern and place a straight edge on the fold or selvedge of doubled fabric. Cut  the one on the fold into two pieces. Cut to quarter circles for the outer fabric and two quarter circles for the lining, four pieces all together.

Cut two more pieces of filter fabric if desired.

Place the mask pieces right sides together. Add the filter pieces to either side of one pair.
Stitch both pairs together on the curved edge.
Finger press the seam to one side of both pieces. Place them right sides together with the seams lying in opposite directions.
Starting at the corner, back stitch to 1 1/4 inches from the end and sew to within an inch and a quarter of the other end of that seam.
Pivot and sew across the point to the other side. Pivot and sew the other side to within 1 1/4” of the end and back stitch. You must leave enough room to be able to turn the mask right side out through the opening. Turn right sides out.
Straighten the seams in the corners and along the edges with a knitting needle or chopstick so everything lies flat.
Tuck the open corner inside.
Now is a good time to press everything.
If you would like to add a nose wire to help the mask stay tight over your nose, a 6 inch piece of chenille craft wire will work. Double it with the ends meeting in the middle.

Insert it between the layers in the center along one edge.
Stitch around the wire, being careful not to hit it with the needle.
The wire can be form fit over the bridge of your nose.
Prepare ties by cutting a couple strips of non-reversible old T-shirt. Depending on the thickness of the fabric, cut it between 1 1/4 to 1 1/2 inches wide across the width of the shirt.


Stretch it until it curls. You will need two pieces. The length depends on if you want ties or loops to go around your ears. I prefer the loops with bead adjusters.


Fold the ends over the ties and stitch, trying not to catch the ties.
Angle cut the ends of the ties, place them together and roll the ends tightly. Pull the ends through a bead or two.
The two beads on the right will work, but the pony bead on the left has too small of a hole. If you use the center bead, you may want to use two of them together. They can be found in the craft section of fabric stores.

The ties can be adjusted with the beads around the ears. I tie an overhand knot on each end so the tie won’t accidentally pull out of the bead.

If you cut long enough ties, the mask can be tied on if that is preferable.

Sunday, April 12, 2020

Saving a Tangled Warp

About a week ago, I decided to wind a warp to make more Teddy bears for our two youngest grandchildren. I chose this fine yellow wool. I wanted a brown color though, so I prepared for dyeing by loosening the choke and cross ties on the warp so the dye could reach all the yarn.
After dyeing and drying the yarn, I could tell it was going to be a difficult warp because it had start to felt slightly and I could see several broken threads.

Sticky yarns are never fun to wind on a loom but can be done with some care.

 I started by stretching out the full six yards with weights for a couple days. In hindsight, I should have soaked the yarn in some dilute hair conditioner first before hanging with the weights to dry.
It was especially important to put this warp on the loom under tension, so as I usually do, I got out the trapeze to stretch out the warp as much as possible.

I warp back to front, so I slipped the end loops onto the back rod, inserted and secured the lease sticks so they wouldn’t accidentally slip out and then hung the weights.

I attempted to use the raddle that fits in the beater, but quickly realized it was working as a comb and broke a few more warp threads.
I switched to a raddle attached to the back beam so I could separate the yarn strands before it went through the raddle.
 To facilitate separating the yarn strands, I mixed up a diluted solution of hair conditioner and water and put it in a squirt bottle. I sprayed it on about a foot of warp at a time and gently worked it into the yarn.
I gently separated the yarn on both sides of the cross until I could move the lease sticks against the heddles in the back of the loom. I did not ever comb the yarn! If it was stuck together, I gently pulled the strands up and down and to the sides with my fingers.
When the warp was wound on as far as possible, I moved the lease sticks toward the back of the loom and secured them in my “angel wings” holder. Even though I always make two crosses on my warps, one at each end, I’m still really careful to not accidentally have the lease sticks fall out while trying to do something else.
The weights were removed. The ends were still pretty tangled at the front of the loom, so I sprayed the remaining yarn and worked it in well.
It was now time to cut the beginning loop off so I could prepare to thread the heddles.
Reaching to the back of the loom, I started separating two half inch sections at a time in the raddle and then up to the end of the warp in front of the loom.
I gently separated the last few inches of each section.

I was quite pleased with how small the difference was in the final length of warp, especially with something as stretchy as wool.
The warp is tamed and ready to thread.

Tension is key to preventing tangles with any warp, not just sticky yarns. Using this method with any yarn will keep it from becoming an unmanageable mess. Most smooth yarns will wind on without much fuss at all.

Saturday, April 4, 2020

Weft Faced Wool Rug Following Class Notes From Years Ago


About fourteen years ago, I took a weekend rug weaving class from Jason Collingwood.I kept my woven sample and class notes, but never made a rug.

I would like to show in this post some of the things I learned and had to relearn from this class. There are techniques I could have done better and others that made me happy that I still remembered.
I used a wool area rug in my living room for inspiration. The dark green, navy, dark red and natural colors go well together.

One of the first things I learned was to not use waxed linen for the warp. I had a terrible time tying it onto the front rod. It was almost impossible to get the knots to stay tied. An 8/5 linen works well at 6 ends per inch. They should be doubled and put in the reed at 3 doubled ends per inch.

Jason Collingwood does not recommend the lashing method for starting a rug, but I think I will try it anyway for the next one to see if I can keep an overhand knot tied tightly.
I started the rug with some heavy unwaxed linen to get the warp spaced correctly and to give me a tiny bit of weaving for my temple to grip. It is recommended to use the temple almost from the first pick of weft, even if only a couple teeth grip the rug.


It is essential to get a straight edge before starting the rug. The weft tends to run downhill on each edge, so it is necessary to compensate for that by weaving small triangles at each edge, as seen right before the red twining starts.

I started the rug with a twined row of red linen, followed by a second row of natural linen twined in the opposite direction. The ends need to be within the row and not at the edge. It may take using a large needle to maneuver the threads. The tan ends in the photo are overlapped and left hanging until more weaving is completed.

Wool yarn was chosen. I used several strands, with the number depending on the thickness. Another thing learned: It may take a little experimenting to get the same thickness with each grouping. The woven rug thickness is about 1/4” or slightly more. The thickness didn’t end up consistent, so I will have to pay better attention to the number of strands used for each color.

Something to consider when choosing yarn is how many strands to use. The more that are used, the more hand threading individual ends into the rug will need to be done. I will show the method further on.
These are some of the shuttles I used. The long ones and the ski shuttles are good for full width weaving and the short ones worked well on the center diamond, where I was making short passes.
Starting a new color of yarn is not done like weaving with finer yarn and a closer sett. With several strands woven together, the thickness needs to be staggered. Leave about six to eight inches of tail at the edge. Pull half of the threads out between different warp threads and take the other half around the selvedge threads twice, as shown in the photo. The wrap at the selvedge prevents a gap from forming at the edge. Bring the edge ends into the shed and stagger them between the other tails.

Arch the weft. It may take some trial and error to get the right amount of extra yarn in the shed to prevent the edges from pulling in. Your temple will help maintain an even width.
Bubble the weft evenly before beating. With the beater brought forward, change to the next shed and beat again.

It will take quite a few woven rows before the weft will stay tightly in place.
Once the weft stays packed down, each one of the ends needs to be woven into the rug. I use a heavy packing needle with a curved end. The needle is threaded down in the channel made by the doubled warp threads next to the tail. An inch or a little more is enough. Thread the end and pull it into the channel.

This needs to be done after the weft is packed and before it rolls over the breast beam.
Once a group of ends has been threaded into the channels, pull the beater forward and hold tightly while tugging gently on each thread.


Release the beater and then trim off each thread at the surface of the rug.

My photo shows some looks that can be created with plain weave. The simplest is a solid color stripe. Vertical stripes are woven with two colors alternating. Checks are just a variation of vertical stripes. Weaving two rows of the dark color will change the placement of the dark and light check block.
Cross stripes can be quite attractive and vary by how many passes are made before changing colors. In this stripe, the narrow rows are two passes and the center darker stripe is four passes.

Note that this stripe is close to the beginning of the rug, so the needle is threaded away from me. Once I had a couple inches woven, I threaded the ends toward me.

The photo shows what the packing needle looks like. With the hook facing up, the eye goes side to side. If it is difficult to thread the needle eye, a thin plastic floss threaded loop works well.
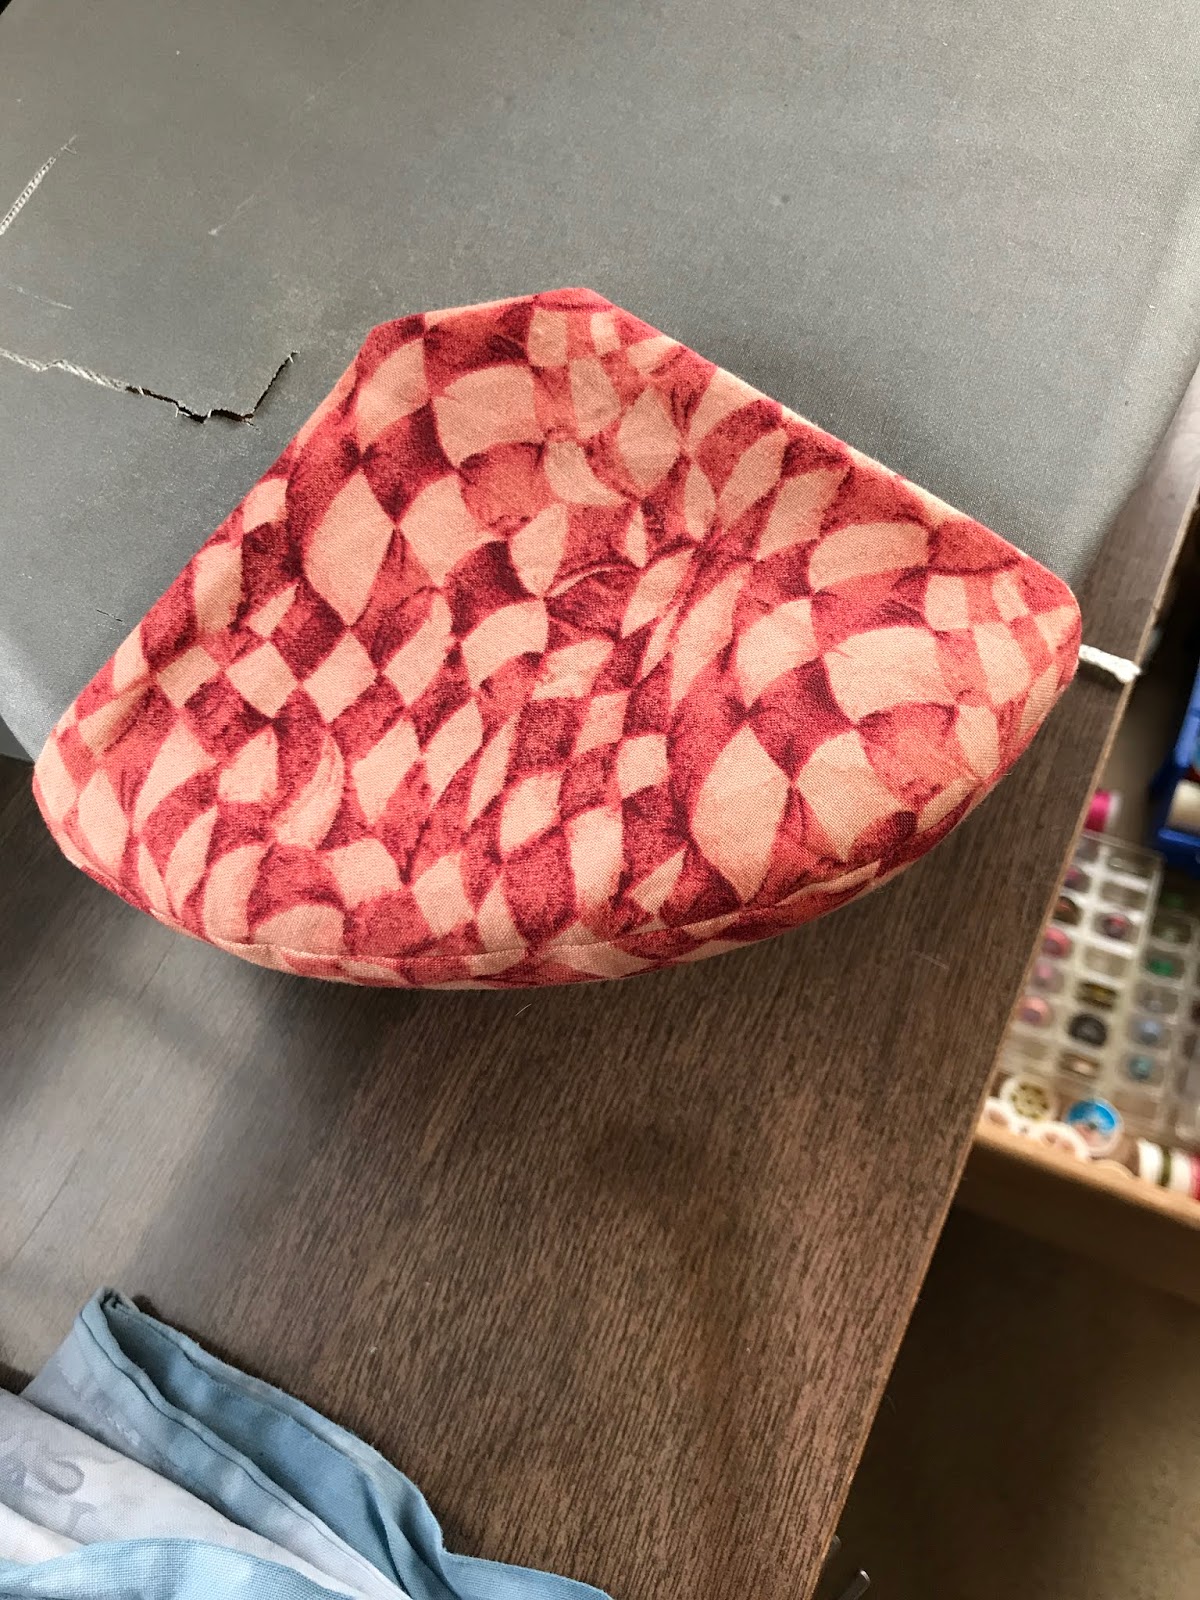
This post has become quite long, so I am ending with the photo of the rug off the loom.

I will make another post soon about a better way to change colors, especially in the checked areas in order to eliminate the bulge at the selvedge and keep the height of the stripe even.

I also want to show how to do the diamond and a few things I learned while weaving it.

Until then, enjoy your own pursuits.


Tuesday, February 12, 2019

Securing Texsolv Heddles on Open Ended Shaft Bars

 A few days ago, I read about a good way to secure Texsolv heddles on the open shaft bars on my Swedish type counterbalance and countermarche looms.

The shafts are two separate wooden bars with holes in each end to thread a string from end to end. The reason for the string is to maintain the order of the heddles if any were to accidently fall off the bar.

After adding or subtracting heddles, I would sometimes not tie the security strings back through the holes, mostly due to laziness but I blame it on my arthritis in my fingers.

I have no excuse now with this method. It involves using elastic bands instead of string.

I used a roll of elastic I had in my stash from doll clothes making days.  It is about 1/8" wide. I cut two lengths approximately the length of a shaft bar.

I tied a loop at one end of one elastic and kept the other as a guide to cut the rest of the bands.
I put the first one on and adjusted the length so it had to stretch slightly and tied another loop at the other end. I needed to trim a little off the band to make it fit, so I trimmed the same amount off the second elastic.
I marked both ends of my guide so I would be consistent in cutting the other eighteen pieces.
 After tying loops on each end of all the remaining elastics, I started putting them on my shafts.

An easy way to thread the elastic through the end holes is to use a bobby pin.
Thread the loop through the end hole.
Wrap the loop around the end of the shaft bar and remove the bobby pin.
With the other bobby pin at the other end, thread it under the strings holding the shafts.

The elastic needs to be against the
heddle loops, so don't go over the
jack cords.

Thread the loop through the hole at the other end and stretch it around the end of the shaft bar.

I keep a few bobby pins in my tool box, for threading the loops if I ever need to change my heddle numbers.

There is no excuse now to not secure the heddles, since I don't have to untie knots any more. The elastic slips on and off with ease.