Showing posts with label Weaver's Delight. Show all posts

Monday, March 6, 2017

MacQueen Tartan on the Weaver's Delight and Other Towels


My association with the MacQueen tartan is through my Grandpa Howard Sluyter's mother, Mary Jane MacQueen, her father, John MacQueen and his father, Hugh MacQueen.

For my 2016 towels given to my girls and my dad in December, I decided to put this tartan on my Weaver's Delight rug loom. At the time, I was teaching different ways to warp looms and also how to warp stripes. The Weaver's Delight has a sectional beam, so I decided the easiest way to do the stripes was to wind each section on the warping board, since no section was going to be repeated.

As the sections were filled, I taped the thread ends to maintain the order for threading.
 I counted out my heddles for a section and then taped that bundle of threads to my beater and carefully removed the tape maintaining the order.
Threading goes pretty quickly, since there were only about 50 warp ends per section.
Partially threaded as seen from the back of the loom.
A rod was inserted in the lashing cords and then the warp was tied to the rod. I spread the warp at the beginning with a few picks of black. I weave two or three picks before beating and then beat until they all come together. If there are still "v's" showing, I will do it again.  Six picks is usually sufficient to spread the warp and eliminate any separation between warp threads.
I wanted to take my first towel off before finishing the rest of the warp.  I wove a small section after my towel, put some Tacky Glue on that 1" section and let it dry.  After drying, I was able to insert two sticks into the next two sheds and then cut off the first towel at the glued section. I then tied onto the first stick in several places and was able to continue weaving.
The first towel looks very pretty on my dining room table.
I wove enough towels so my dad, three daughters, and I could all have one.
I believe I already showed this six-shaft towel that I gave to my daughter-in-law Rebecca. It was woven on a counterbalance loom and is a six-shaft pattern that I found on Handweaving.net.
 Wet finished and hemmed.
Except for this towel, which I kept for myself, I didn't get photos of the Cajun Inspired Towels I did in this colorway.
This pattern was a Tom Knisley design and was in Handwoven, Jan/Feb 2015, page 67. Refer to the magazine for the full instructions.

I gave the plaid one I wove (no photo) to my daughter-in-law Jenn this past December.
The plaid is pictured in a screenshot from my Fiberworks program and shows the slightly confusing threading from the pattern in the magazine.  Note the four threads periodically threaded on the same shaft but in different heddles.

The weaving also has four weft passes in one shed, so it is necessary to wrap around the outer warp threads. I didn't use a floating selvedge. The four passes in the shed leave ridges, giving the towel some texture.

I substituted orange for the red and dark brown for the white.

Thursday, April 10, 2014

The Weaver's Delight Cams and What They Can Do

Hopefully some of this information will be helpful to someone else with a Newcomb Weaver's Delight loom.  I realized I never wrote about the cams when I was doing the restoration of my loom, probably because I didn't know anything about them at the time.

My loom did not come with all the cams available, but only the basic ones.  The basics are four No. 1-2 combinations, two No. 8-9 combinations, one No. 7 and one No. 10.

Shown at the left are two of the four cams for plain weave.  They are numbered I and II and are reversible.  The left one is I and the right one is flipped over to be II.  Four are needed to weave a simple over and under plain weave.
The four cams would be alternated like this on the cam shaft.

These cams are also used in other weaves besides the plain weave.
No. 7 can be used either side to be a 7.
No. 8, with the notch to the right.  The reverse is No. 9.
No. 9, (No. 8 flipped to the other side).  Sorry I couldn't put this one in the same orientation as the others.  My computer is acting up and won't show them the way they are in my file.
No. 10  can be used with either side facing forward.
 Combinations of four cams are installed on the loom to create different patterns.
The cams are held in place by a heavy nut that needs to be tightened securely.
This short wooden bar, shown in its non working position needs to be raised to an upright position to install the cams.
It holds the four weaving shafts up so the cams can slip on the hub.
The cams will not stay in position unless the square key is in the notch on the cam and the hub. Getting all four cams installed may require pulling the beater forward and back to rotate the cams.
They are easier to install when they are in the lower position.  Here are the first two, controlling shaft 4 and 3.
Three are installed.  Pulling the beater forward will rotate those three until the open spot is toward the bottom.

The above instructions are used if there is already a warp on the loom.  If the loom is empty, it is easier to install the cams because the shafts can be lifted out of the loom to get them out of the way.  It's a good time to add some oil to them everywhere the metal rubs on another metal part.  Do the same for the cams.
Several patterns are included in the Weaver's Delight manual.  It only shows a very small amount of how the pattern will look.  I made a drawdown that shows 16 times more than is shown in the manual.


I made cards with instructions on how to install the cams for each one of the designs that are in the manual.  This is the first one and the rest are below.  Each card shows which cam goes on each shaft, the position of each cam when the key is in the upper left position, which shafts are up and a small drawdown graph of the design.


This is one of my favorite patterns for rugs.  It was suggested to me for my first warp on the loom and I received many compliments on how the rugs looked. It isn't from the WD manual but can be found in the book Rag Rug Handbook by Meany and Pfaff.
This is an example of the Chicken Tracks or Double Seed pattern.
When doing my experiments with weaving cloth on the WD, I used three of the above patterns.

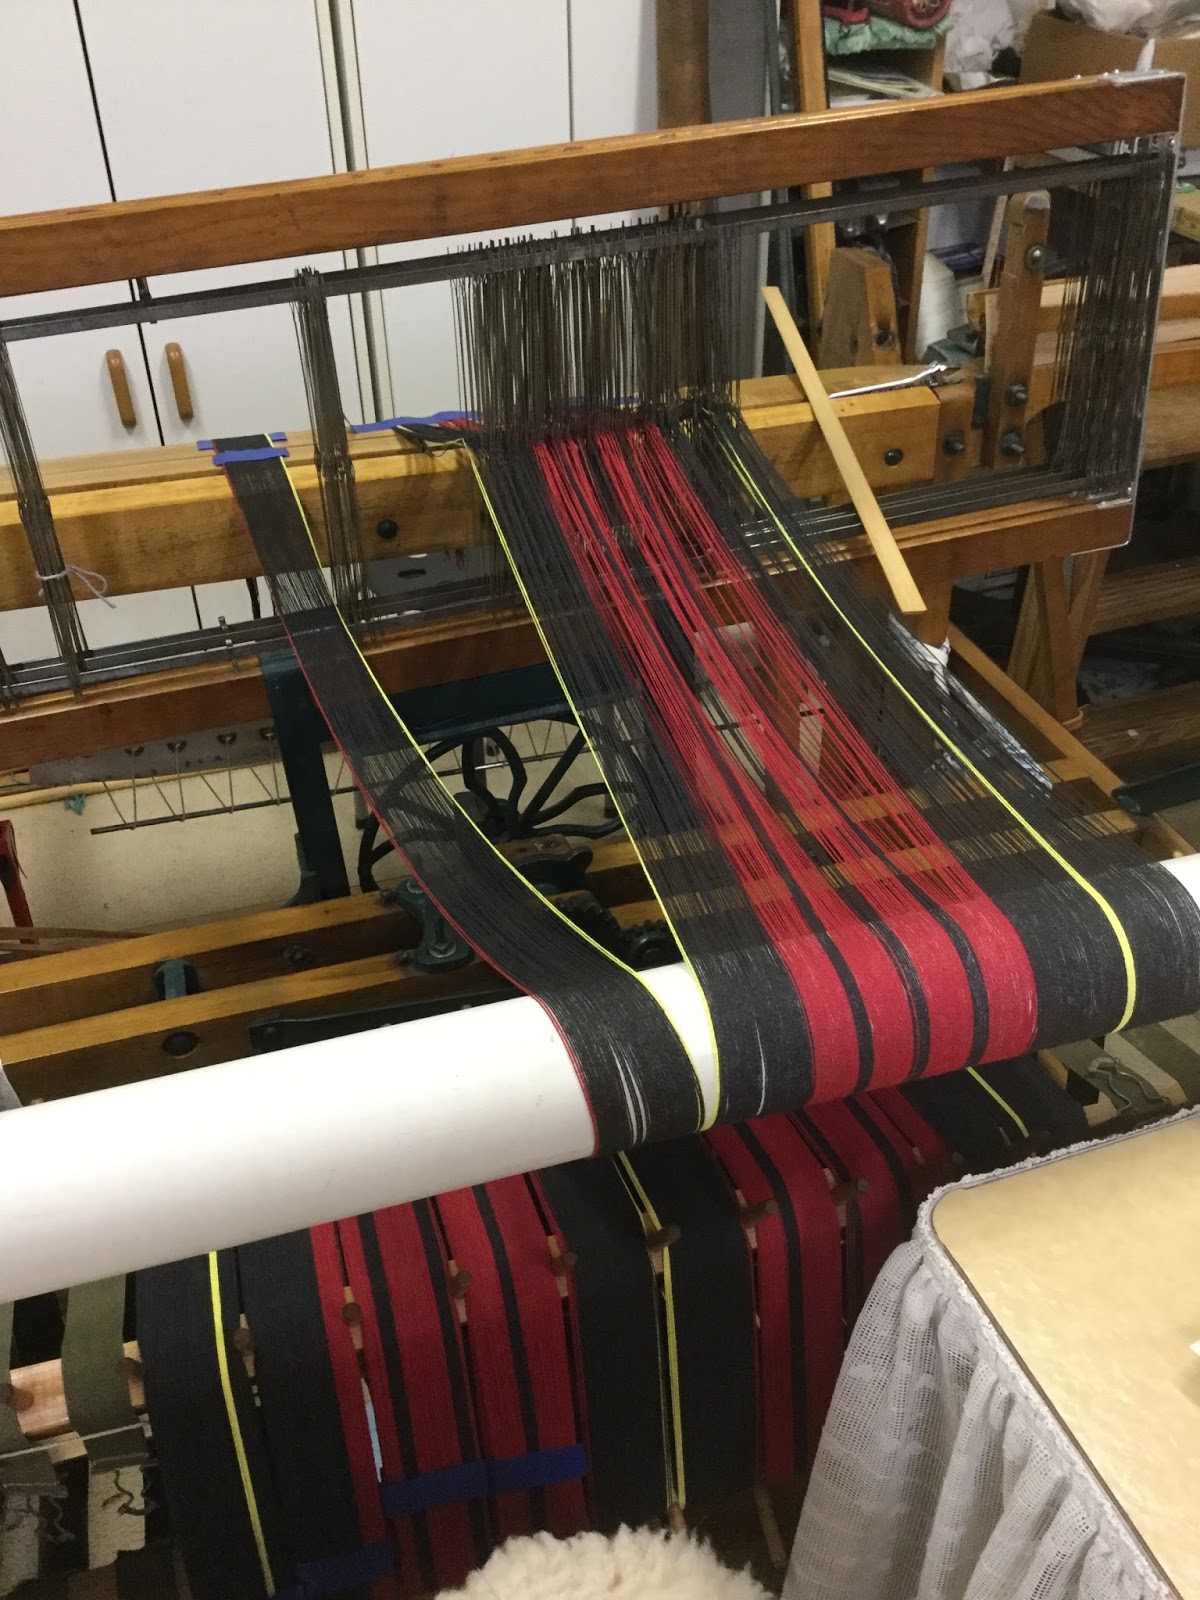
The stripe arrangement is the thread count for the Wanstall tartan.  I didn't weave the tartan since it is for Wanstall family members.

I got four generous sized towels from the warp I was experimenting with.

This one at left is woven with the Kersey Twill pattern, which is just a 2/2 twill.  Click on any photo to make it bigger.
This is a close-up of what Bird's Eye looks like.
The pattern above the yellow line is Union.  It makes a very attractive towel.

With my next towel warp, I will try the other patterns.

Wednesday, March 5, 2014

Weaver's Delight Experiment is Done

The experiment with weaving cloth on my Weaver's Delight automated rug weaving loom is done and I am pleased with the results.  The warp of slightly more than five yards yielded five towels and a small sample.

I learned that I can weave with yarn using the big wooden shuttle and pirns.  For simple twill or plain weave, this loom works well.  I do need to work on an even beat though.  The beater is so heavy, I found it was very easy to overbeat.

Since my dad helped me get the old wooden shuttle repaired, he was the recipient of the first Michigan Tartan from this warp (top left).  My mom always said she doesn't care for plaid, so I gave her the striped one (top middle).  She clarified that today by saying she doesn't like to WEAR plaid.  They are both on display in their kitchen.  Thanks Dad for all your help!
The official Michigan Tartan was designed by Kati Reeder Meek from Alpena.  Information about the tartan can be found here:

After finishing this project, I am anxious to find another tartan to try, although I may do a quick run with tartan stripes like my first towel and weave each towel with just one of the tartan colors.  I'm ready for some one-shuttle weaving!
  

Weaving The Michigan Tartan on the Weaver's Delight


I took on this experiment to satisfy my own curiosity about weaving cloth on this big fly-shuttle rug loom.  I wasn't acquainted with anyone who had done it, but I had a shuttle especially designed for the loom and yarn, so I decided to try it out.

I was using size 8/2 cotton for the warp.  I knew from previous experience that setting it at 24 ends per inch would be just right for a 2/2 twill.  The sections on the warp beam measure 2" between the pegs, so I calculated 48 ends in each section for a width of 20", equaling 10 sections.  I suspected I would end up wishing I had used 26-28 ends per section, since each peg takes up some of the width.

My pattern for the towels was the Michigan Tartan, found on the Scottish Register of Tartans,
Michigan Tartan
I used the threadcount given for the tartan, decided what was going to be at the starting edge and then made a chart noting the order and number of each color for each section.  Each section had to total 48, so some of the stripes were in two different sections.

I used the bright pink post-a-notes to keep my place and crossed off each color as it was wound.
I only had one cone of each color, so I wound the colors on my warping board, one section at a time. 
As I finished each section, I took it off the board and threaded it through my tension box and wound it onto the warp beam.

I use eight pieces of plastic tubing seen on the pegs to keep the yarn from accidentally going into the sections on either side.
Frequent color changes can be aggravating without a plan.  I figured out quite a while ago that it was a waste of time to tie the color changes together at the first peg.  Now I put tape on the board and tape the beginning of each color below the peg and the end gets taped above the peg.  It makes warping much faster.
 Each section end of the warp gets taped before removing from the tension box so the threads will be in order for threading.  Here are eight of the ten sections prepared.
Before threading each section, the warp is taped to the shuttle race at the front of the loom in a handy spot for picking the next thread.

I threaded the 12 dent reed with two warp ends per space.  When I was done, I knew I was right about needing to wind 26-28 ends per section, because the warp in the ten sections was wider than in the reed.  It wasn't bad enough to do over, and besides, this was all just an experiment, with the spacing included.  Next time I will add more warp ends per section.

 I got everything tied onto the apron rod and wove a small amount to spread the warp.  Note that the lacing from the apron to the rod does not extend much past the width of the towel.  If it was laced to the ends of the rod, the towel would pull on the center and bow the rod.  Keep the lacing the same width as the weaving to avoid tension problems once weaving begins.
The first towel was just one weft color as I worked on adjusting the loom.  I had a lot of broken warp threads as I tried to adjust everything.  The shuttle kept going crooked through the shed from the right side.

I eventually ended up putting a different picker heel on that wasn't as worn as the one I started with.  It did help a lot.  All the warp breakage occurred on the first towel and the first inch of the second towel.  I got a lot of practice repairing warp threads on this big old loom!


Thursday, February 13, 2014

Experimenting With the Weaver's Delight Wooden Yarn Shuttle

Last spring, while visiting Ole' Lou and his wife Betty down in Arkansas, I shamelessly begged an old wooden shuttle off him.  I thought I had seen it during another visit and was pretty sure he didn't use it.  I didn't know of anyone else with a Weaver's Delight loom that had one, and also never talked to anyone who had woven fabric on their rug loom.

I brought it home along with a few pirns for winding on yarn for the shuttle.  This is a big shuttle, about the same size as the cast aluminum ones for the rags.  It measures about 16" long and is 3-4" high.
It has a patent number stamped on the top.  Last fall, my dad took a look at it and did some repairs.  One of the pointed cones came out and needed gluing again.  We got that repaired and Dad turned a couple more pirns, using the old ones for a guide.  I brought it all home and put it away until recently. Other things like cancer treatments got in the way of my doing anything with it. I  got it out last week and decided to clean it up and try using it.
I sanded all the wood and found out most of the dark color was just dirt.  After a coat of stain, I put a couple coats of polyurethane on everything.

The wire fits in two holes inside the shuttle and loops around the pirn in the groove.  Pushing on the flat end of the pirn bows the wire enough to give some tension to the pirn and holds it in place when seated in the shuttle.

I had my dad make the new pirns about 2" longer than the original ones.  I wasn't sure if there was a reason for the original ones to be shorter, so I thought I could start out with them a little longer and cut them off if they didn't work.

There was a reason for them being shorter!  The longer one worked fine until there was just about 1" to1 1/2" of yarn left on the pirn and then it started to get caught on the tip.  It caused some broken warp threads from being tugged off the shuttle race.

Well, isn't that what experimenting is all about?  I know how to fix broken warp threads and will show some photos of the process in another blog post.

Here is the shuttle all loaded with yarn and threaded and ready to go.  The thread is exiting under a spring steel tension clip.  I am thinking bout replacing it with something else that may let me change the tension a bit and have a little more control of the yarn pulling at the selvedges. (Or not pulling!)

Stay tuned for winding a tartan warp to put on the WD sectional beam and repairing broken warp threads.