ReNee, a weaver on our Rugtalk Yahoo group just asked me a question: "Would you please walk me through your method of tying on to the apron
rod. I have always tied onto the eyelets in the apron. Do you tie
overhand knots in warp and insert a rod and then lace on? I can see
that lacing on the entire width of the apron improves the eveness of the
take up."
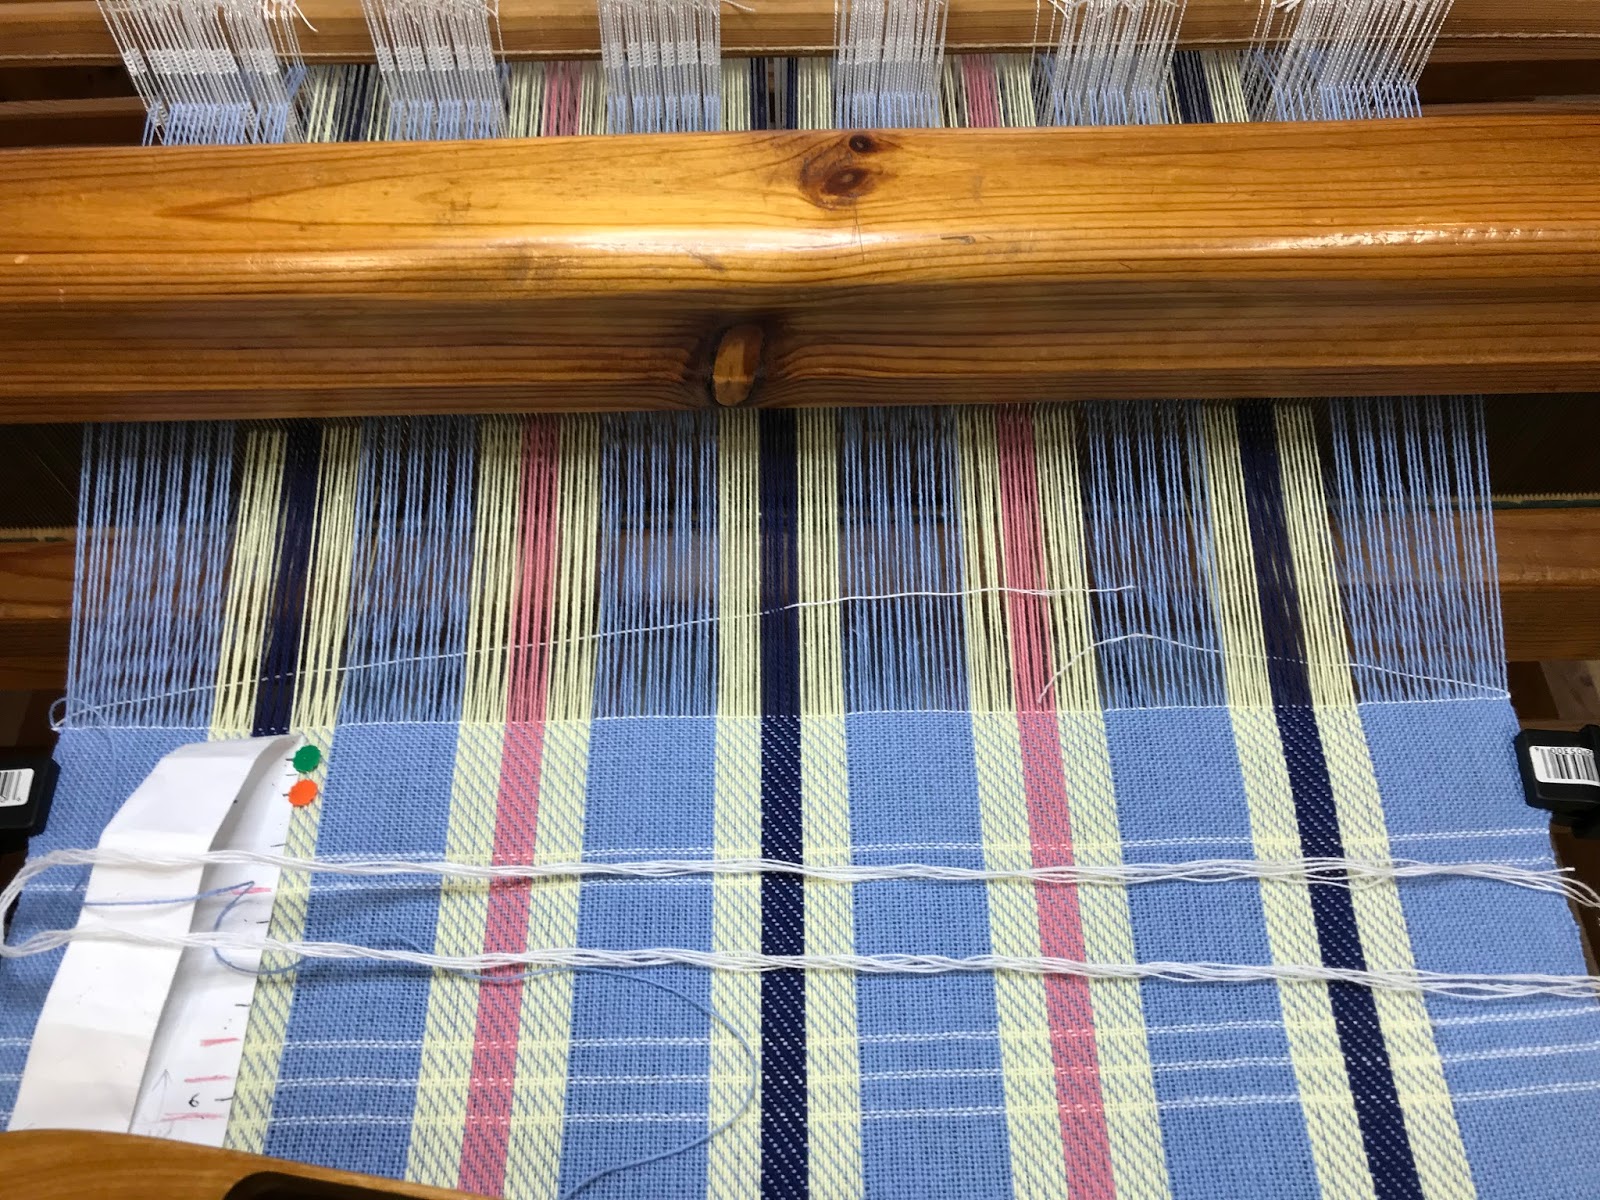
She had recently visited my blog and I think she was referring to the photo of the Weaver's Delight in my last post.
ReNee, rather than answer on Rugtalk, I'm sending you back here, because photos are easier for explaining methods.
Here is a repeat of that photo from my previous blog post.
I want to mention that this is a common method of tying on to the loom. These are my photos and written directions, but I didn't come up with the method. I don't care if anyone uses these elsewhere, but please give a link back to this blog.
The cording is a sturdy cotton that I found packaged as a center pull ball at the hardware store. Don't buy anything too thick, or it will make too much of a lump on the beam. The cord needs to be 3-4 times the width of the apron. It has to be long enough to zig-zag. Tie onto the first eyelet. (By the way, I do have a rod in the end pocket of the apron.) Lash the cord through each eyelet like in the photo. Too see better detail, click on the photos to enlarge them.
Continue to the other end of the apron and tie off the cord. Thread your rod through the loops. Wiggle it around until the loops are even and your rod is parallel to the front beam. If your apron doesn't have eyelets, but just a rod in a pocket, there are usually slits cut in the fabric. You can thread the cord around the rod through the slits.
One caution: this photo is showing what you shouldn't do. Keep your last loop as close to the selvedges as possible. The right hand lashing is correct, but on the left side, I am going to drop the last loop before I start to weave. If I don't, the lashing cord will bend the rod . There needs to be equal pull from the lashing cords and the tied on warp.
Now, to tie on the warp, I work from the outside, from both sides, toward the center. I do a couple on the right, then a couple on the left, etc. I like to keep smaller bouts to tie on than the whole bundle from the section, so they are about 1" each, because the warp will spread quicker with smaller bundles.
Wrap the warp around the rod and bring the ends up on either side of the bundle.
Tie a half granny knot. Often I will tie all of them to this point in the knot. They don't have to be super tight, but all need keep the warp the same tension.
I was taught to never tie a knot if a bow will work just as well. I start to tie the second half of the granny knot, but don't pull the loop all the way through. I think it is also called a bow knot, and is similar to tying a shoelace.
Now I can tighten the loop. If I need to make an adjustment to the warp tension, it's a simple matter of untying the bow.
Don't forget to cover all those knots with a stick when your rug starts wrapping around the cloth beam. Your first rug will be distorted by the knot indentations if you don't.
ReNee mentioned another method for lashing on, that can also be used. It eliminates the need for the second rod. Each section is tied in an overhand knot at the end of the warp. Tie the lashing cord to the closest eyelet past the selvedge, lash through the end of the first bout, then into the second eyelet, etc. The bouts will be thicker, since only one can be lashed per eyelet. Adjust the cord until the tension is equal on all of the bouts.
I like the method I use better, since the knots aren't as big, and the space between bouts is smaller, letting the warp spread evenly with fewer passes of the weft.