Bob and I just finished rescuing a second loom. My first one was my Weaver's Delight from the Newcomb Loom Company. I detailed my restoration of that loom in previous blog posts. This second loom, a copy of a Gilmore loom, could have been a big mistake for us if we both weren't so persistent in getting it working.
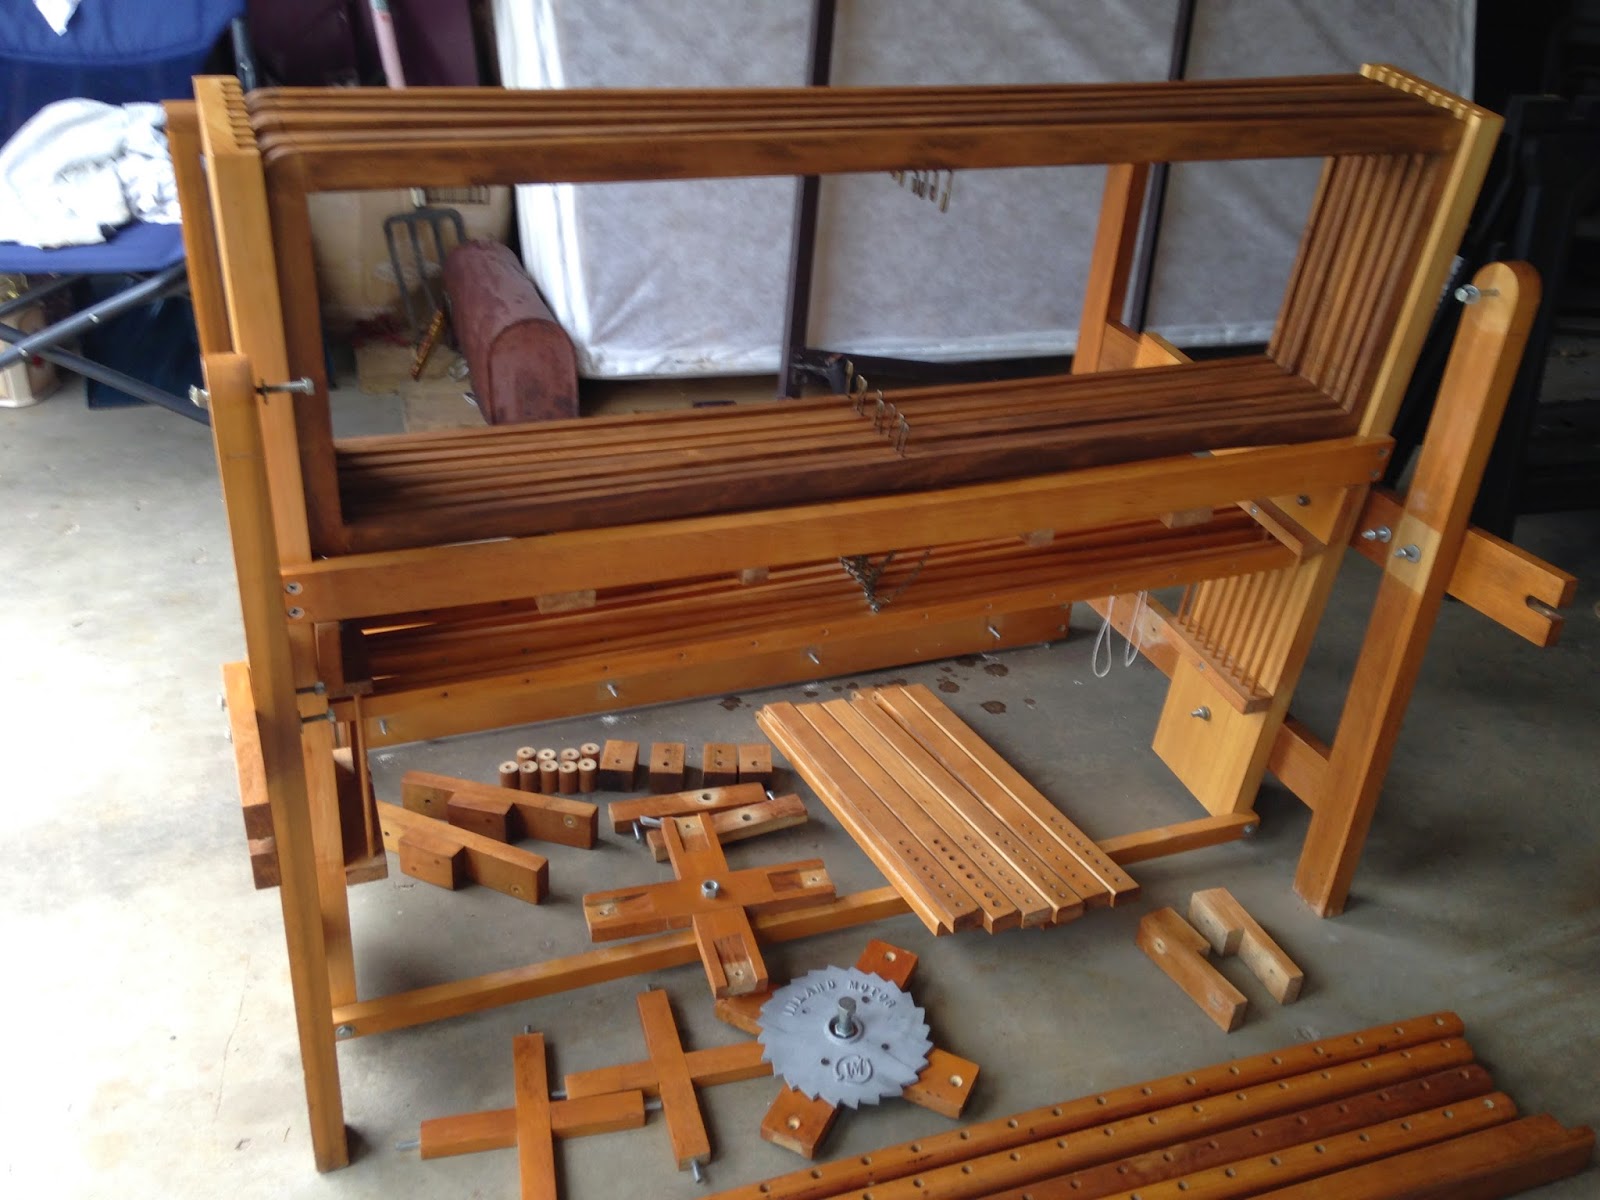
This is sort of how it looked when we bought it. I didn't get a photo before I started taking it apart. I sanded the frame but no finish was added yet.
I purchased it without really thinking it through because it was an 8-shaft loom and the price was right. I didn't have a loom with 8 shafts except for a table loom. Although it is a nice Glimakra Loom, I don't care to weave using hand levers because they are too slow for me.
Unfortunately, the other owner purchased it not knowing is was never gpomg to be a functional loom for her. She said the person she got it from told her it was a kit. That "kit" was not all there, lacking some very important parts. A loom needs a brake and warp advance system and this loom was missing that.
As I started taking it apart, mainly to get some new finish on the wood, I kept seeing more problems with it. I contacted Bob at the Gilmore Loom Company to see if the loom could possibly be a Gilmore. It turns out is was sort of a copy, but Bob was very helpful anyway. I was able to get the proper ratchets and a few other parts for the brake system and he showed us how to make some other parts and how to install them.
This notch was an oops, but doesn't affect the integrity of the frame. It was cut to try and attach the advance lever. It should have been attached to the cloth beam, but the hole wasn't big enough to go over the beam end pin. Bob had to drill a bigger hole to install it properly.
This thin ratchet was what came with the loom. It looks homemade.
We replaced the thin ratchet with this sturdy one and added the back pawl, which both came from Gilmore Looms.
At this point, I wanted to get a sample warp on the loom to see how my treadle tie-ups were working, so I put on a short 2" wide warp, put a weight on the back beam so I could get some tension on the warp and proceeded to weave a small amount as I adjusted the treadle tie-ups.
My little sample worked out, so I knew we were close to having a functional loom. About all that was left to do was get the brake installed.
This is part of the brake system with the new replacement parts, also from Gilmore. Bob made our own metal bar to catch on the ratchet.
Our son Edwin welded a part that needed to be screwed to the inside of the sectional beam to keep it from spinning.
A treadle was added to release the brake in the back. By this time, I just wanted to get the loom up and running. I might get around to putting some finish on it someday.
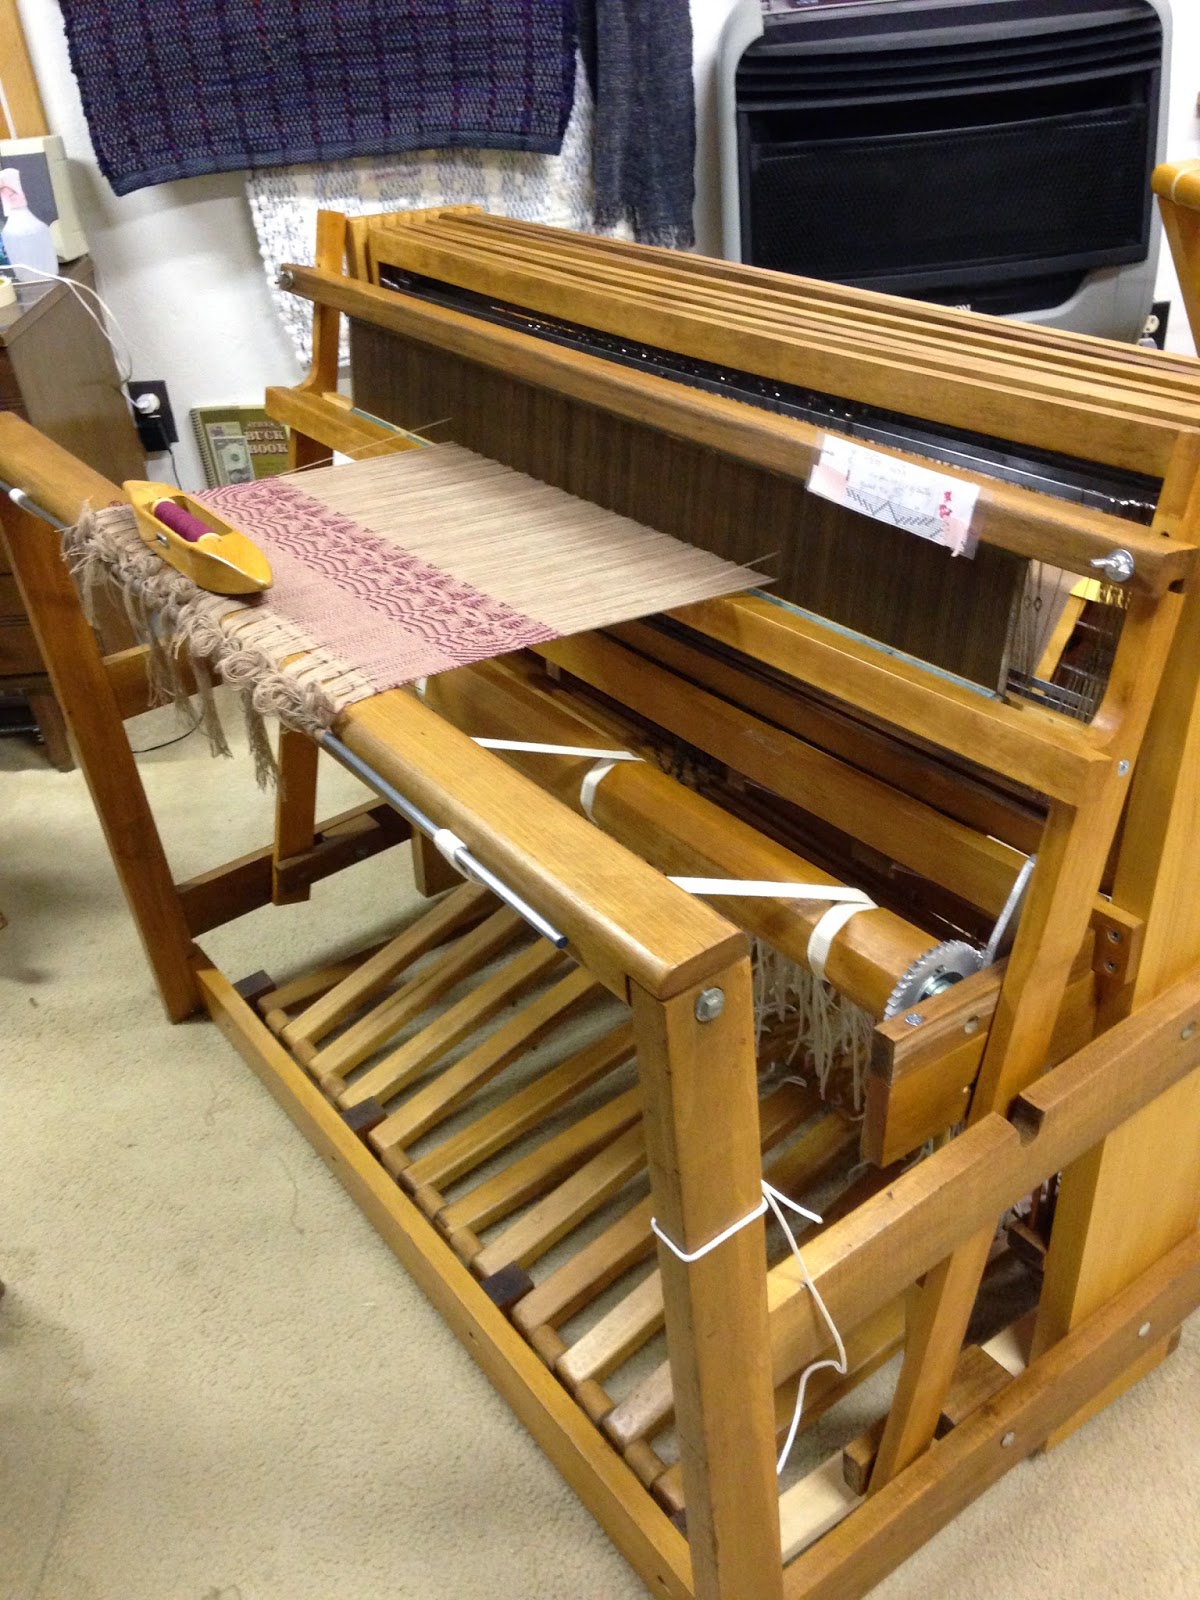
We moved the loom into the studio and I picked a project that would only take one shuttle from the Sept/Oct 2014 issue of Handwoven. I propped the shafts up on a box to get the heddle eyes a little higher for threading.
Here it is with the start of the loom's very first project. This is just a sample to check for threading errors.
As hard as I tried to thread it error free, I still had eight threads near the end on the right that I accidently reversed the order, plus I had a weaving error. I find if I weave a small amount and then take a photo, I can spot errors much easier than just looking at the weaving. A photo just makes the errors pop out.
I loosened the tie with the errors, pulled the eight threads, rethreaded them in the proper order and retied. The green stripe is my test after rethreading and it looks fine. I will go back to using the red when I start my actual project.
I have about five yards of warp on the loom, so I should be able to get 4-5 towels woven. I like the antique look I get from using the tan warp. I plan on weaving towels in dark red, navy blue, dark green and whatever strikes my fancy for the remainder.
Another loom has been rescued and doing what it was intended to do and I now have an eight shaft floor loom with a 40" weaving width for about $500. It feels good!


