Showing posts with label Texsolv. Show all posts

Tuesday, February 12, 2019

Securing Texsolv Heddles on Open Ended Shaft Bars

 A few days ago, I read about a good way to secure Texsolv heddles on the open shaft bars on my Swedish type counterbalance and countermarche looms.

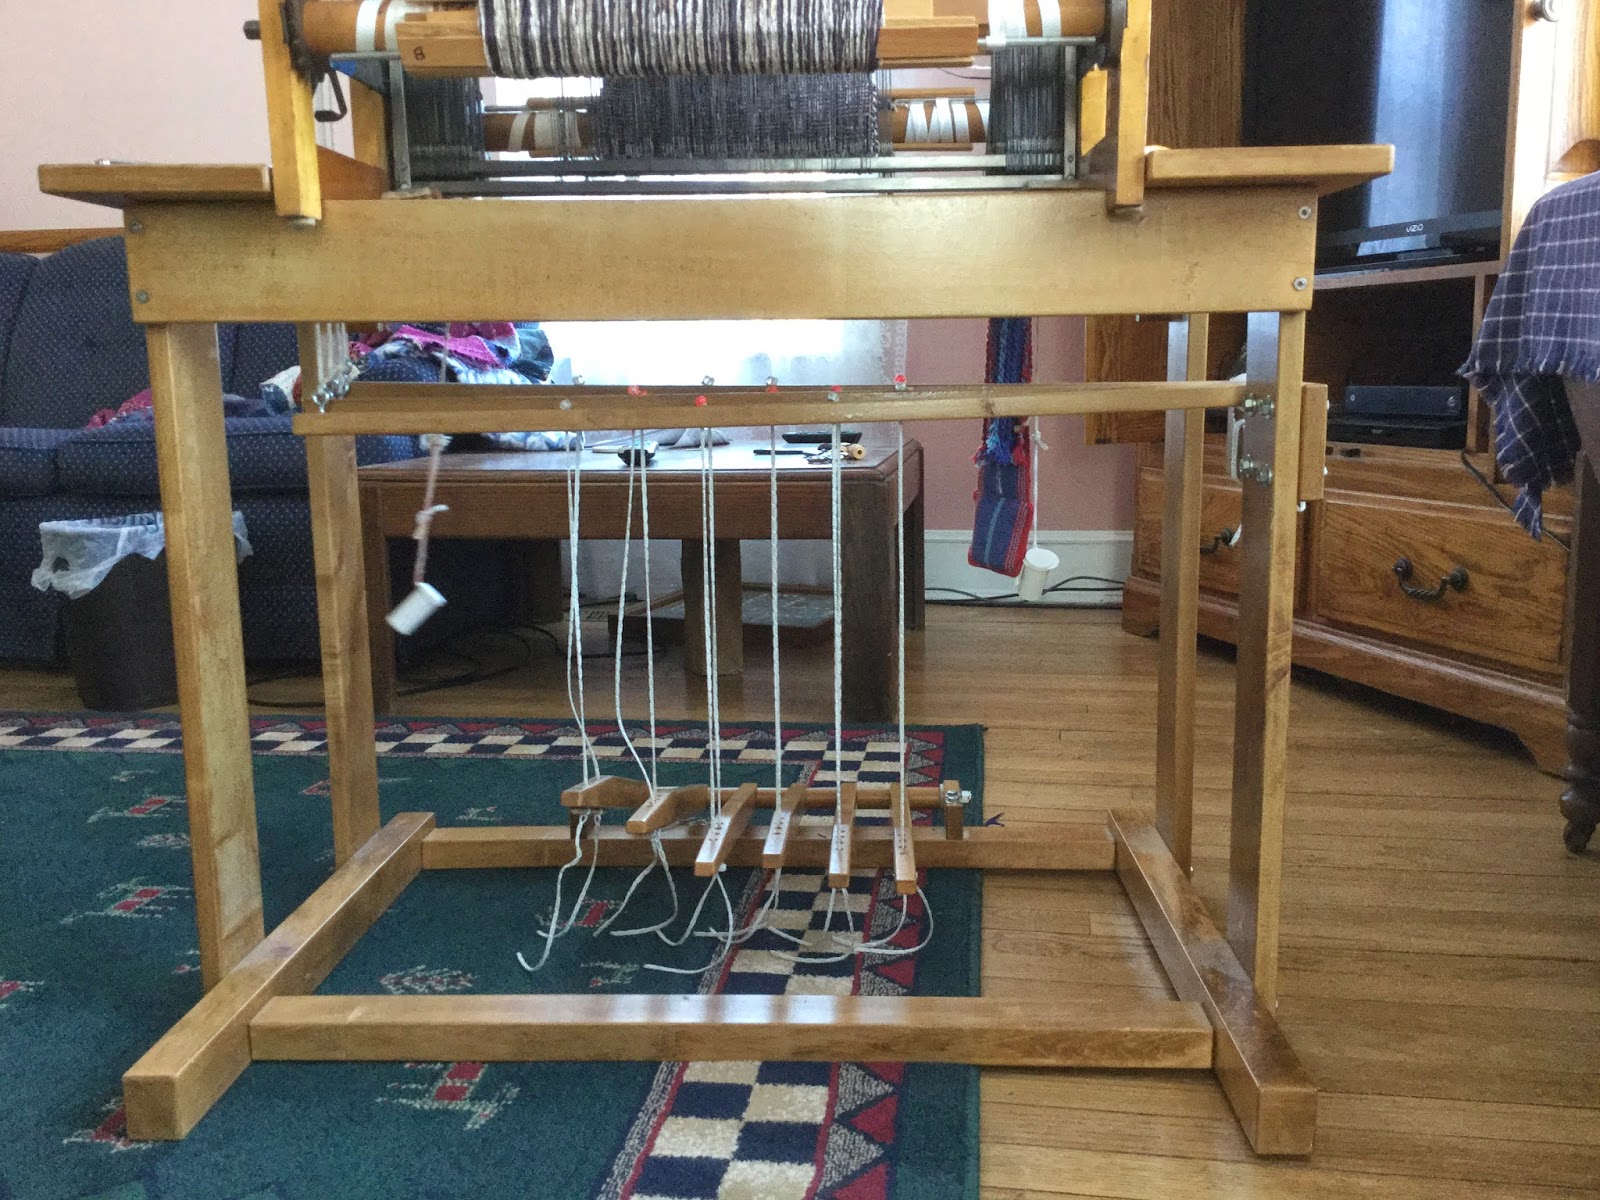
The shafts are two separate wooden bars with holes in each end to thread a string from end to end. The reason for the string is to maintain the order of the heddles if any were to accidently fall off the bar.

After adding or subtracting heddles, I would sometimes not tie the security strings back through the holes, mostly due to laziness but I blame it on my arthritis in my fingers.

I have no excuse now with this method. It involves using elastic bands instead of string.

I used a roll of elastic I had in my stash from doll clothes making days.  It is about 1/8" wide. I cut two lengths approximately the length of a shaft bar.

I tied a loop at one end of one elastic and kept the other as a guide to cut the rest of the bands.
I put the first one on and adjusted the length so it had to stretch slightly and tied another loop at the other end. I needed to trim a little off the band to make it fit, so I trimmed the same amount off the second elastic.
I marked both ends of my guide so I would be consistent in cutting the other eighteen pieces.
 After tying loops on each end of all the remaining elastics, I started putting them on my shafts.

An easy way to thread the elastic through the end holes is to use a bobby pin.
Thread the loop through the end hole.
Wrap the loop around the end of the shaft bar and remove the bobby pin.
With the other bobby pin at the other end, thread it under the strings holding the shafts.

The elastic needs to be against the
heddle loops, so don't go over the
jack cords.

Thread the loop through the hole at the other end and stretch it around the end of the shaft bar.

I keep a few bobby pins in my tool box, for threading the loops if I ever need to change my heddle numbers.

There is no excuse now to not secure the heddles, since I don't have to untie knots any more. The elastic slips on and off with ease.


Friday, May 25, 2018

Cranbrook Loom Easy Access Tie-up System


As Bob and I were installing the additional four shafts and treadles to the Cranbrook, I started dreading the acrobatics needed to tie the treadles to the shafts. I had heard about weavers getting a system that allows them to tie everything up from the back of the loom.

I did a little research and found the 20+ system by Woolhouse Looms.
Woolhouse Tools 20+ system

Bob is quite handy in the woodshop, as my regular readers know, so I asked him if he could make something similar.

Here he is holding the completed tie-up pegboard.
This is how it looks attached to the back of the loom.  I can sit on the floor or a low stool to tie everything up.

I think the height could be changed if I start having difficulty with it as low as it is, but for now I can manage. Flexibility with arthritis is an on and off thing. Some days are better than others.

This system takes a lot of cording and can become very expensive if Texsolv is used. I did use some of it on mine because I had a tie-up kit I had bought very cheaply. I needed to splice my cording together though, because they were various short lengths.

It isn't ideal, but is working. In the future, I'm planning on adding a system to my 10-shaft counterbalance loom when I get my long project finished. I will look for braided cording from the hardware store for that loom and splice a short length of Texsolv to the end that goes through the pegboard.
This photo is from the front of the loom, showing the routing of the cording at the back of the treadles.
I labeled my pegboard with treadle #1 on the right. The shaft numbers are next to the holes.
Each treadle has two columns of holes corresponding to each shaft. One column is for the upper lamms and the other for the lower lamms. Each hole gets a cord.

Doing the math, that is 10 treadles times 8 shafts for both the upper lamms and the lower lamms for a total of 160 cords. That is a lot of yardage!
The kit I bought had a lot of two-leg pegs. I used them to mark the treadle resting on the floor position. If there isn't something on each cord, the inactive cords will slip out of the holes.

I already had that happen with these pegs, so the legs need to be poked into the hole. If I hadn't already had them, I would have used all arrow pegs.
Before doing the tie-up, the loom needs to be in its locked position. The treadles need to be raised to the weaving position so Bob made me this support bar to put under the them. We used the height the manufacturer specified, but it wasn't high enough. We need to add another block of 2"x4" wood to the bottoms.

It helps to add some weight to the top of the treadles to keep them from rising when pulling the cording taunt. A board with a couple clamps would work also.
I chose a basic pattern from this book.
Top Ten Table Runners on 8 Shafts
The pattern was originally published in the M/A 1993 issue of Handwoven, pg 43.
For the warp, I am using 8/2 cotton, 30 ends per inch in a 15 dent reed. The weft is 3/2 mercerized cotton. If I was going to do this again, I would use a different reed with wider spacing.

I have to be very watchful for doubled threads that are sticking together in the reed. It helps to beat on an open shed, change to the next treadle and then push the beater back.

Here is my start. I was warned that the pegs may need adjusting once I start weaving, as the cords find their position. After about 8" of weaving, I am to that point because my shuttle is starting to slide under threads. It may have to stay like this until Tuesday, my next open studio day. Hopefully someone will come and be able to give me a hand evaluating each shed.

Once the kinks are worked out, I think I am really going to like this loom with all our upgrades.


Wednesday, April 18, 2018

Adding Parts to the Bexell Cranbrook Loom


This is a continuation of turning my four-shaft loom into an eight-shaft loom.

The rolls of Texsolv cording and the heddles I ordered arrived in the mail over the weekend. I was able to start cutting the cording after Bob helped me put the jacks, lower lamms and treadles on the loom.

I measured each piece and tried it on the loom before cutting all of them. The cording is expensive, so I didn't want to waste any, since I was cutting four to eight pieces of each length.
 Each end of the cut cording needs to be melted so it won't unravel over time. I use a candle so I don't have to use the lighter over and over.
Working from the top of the loom, the short pieces that form a "v" at the center of the loom were attached to the jacks.

I am adding a long piece at the bottom of the "v" that extends to the lower lamms.

We had to take the lamms back off because we realized we forgot to add the hooks for the other end of the cord. Bob needed to use the drill press.
Next were the cords from the outer ends of the jacks to the four new shafts. The cording works quite easily because of the evenly spaced holes. One end is threaded through the screw eye and the other end goes through the last loop on the cord and is then pulled tight.
Bob was helping to prepare the shafts for assembly. They are a simple design, with metal pegs in each end.
There is a short metal rod and longer rod and another short metal tube.
The heddles come in bundles of 100, with each end tied off with twist ties, so they don't become tangled.
The ends of the heddles are slipped over the top and bottom shaft bars before joining the ends with the metal rods.
The two rod ends are held together and the metal tube is then slid over the joint toward the bottom shaft bar.
While the heddles were still in a group, I snipped the loops at the top and bottom so they can freely move on the shaft bars. Keeping them together would make it harder to thread the loom.

They should be clipped only after installing them. If I found I had ordered the wrong size, I wouldn't be able to return clipped heddles. The heddles were very tight on the bars until I took off the twist ties and spread them out.

Since I usually thread my looms from the center to the edges, I separated and counted half to each end of the bars.

Having just had cataract surgery the day before, this was about all I could do today. Hopefully I can get more done tomorrow.


Tuesday, March 6, 2018

Leicester Dryad Countermarche Loom Repaired

A while ago, my friend Erin gave me her first loom when she decided to purchase a new one. Since she didn't have room for two, her Leicester Dryad countermarche loom moved to my studio.

My friend Marcia comes to my open studio every Tuesday, and I told her I would give her the loom if she wanted to help me get it working again. We spent last week working on putting Texsolv onto the loom, since I had stripped off all the cording.

Marcia purchased metal rod for the front and back aprons, so one of the first things we did was to replace the thin dowel in the apron hems.

We got all the Texsolv cording measured and installed. In order to get everything functioning and tied up correctly, we needed a warp on the loom. We made a quick one yard test warp. 

Countermarche and counterbalance looms need to be tied up from the top down after a warp is wound on the loom and threaded.

We tied a basic four shaft, six treadle tie-up and Marcia played around with the treadling. Her sample is quite colorful.
Our biggest job was ahead of us. There are two hinges on the loom. This one pictured is ok, but the one on the other side was not secure because a big chunk of the wood cracked at the screw holes and one of the screws was missing.

We had to unscrew the top three screws on both hinges so we could access the underside of the board to make the repairs.
The break goes through all three screw holes, with the piece completely broken off at the left hand hole.

We raided Bob's workshop for drill bits, wood glue, drywall screws and various other tools plus toothpicks from the kitchen.

This is the underside of the side board showing the broken piece. I pre-drilled three holes between the three hinge screw holes and countersunk the holes. The drywall screws worked well to draw the glued broken piece up tight.
Marcia finished attaching the piece.
As badly broken as it was, the repair looks pretty good.

We added toothpicks and glue, broken off in the screw holes, to give a better grip for the hinge screws. They went in without any problems.
Another problem we needed to take care of was to drill two more holes in the treadles. The tie-up cords were not able to connect directly under the lamms. They were pulling toward the front of the loom, making the shafts hit the beater and the lamms bump each other. I'm not sure why the loom was made that way, but the two additional holes made everything line up correctly.

We used pointed dowels through the correct holes in the Texsolv cord. One is visible under the treadle. We may need to do some slight adjustments once Marcia winds her next warp. We couldn't test our changes since we needed to remove the remainder of the warp to do the repairs.
The tie-up looks pretty good. This is taken from the side, showing the upper and lower lamms and the treadles.
This is the connecting point for the upper and lower lamms.
The last thing we fixed was the missing beater stop peg. Bob had some dowel the correct size in the workshop, so it was a quick fix, with Marcia doing a little sanding until it fit in the hole firmly.

All in all, I think we make a good team working on repairs.

Next week's project will be having Marcia wind a warp for her first handwoven dishtowels.

Saturday, February 28, 2015

Building a Stand With Treadles for my Leclerc Table Loom

Several years ago, my husband Bob and I designed a loom stand for my Leclerc Jano table loom.  I have had several people since then ask about making one.  We don't do that kind of work for others, but can give dimensions and show photos of how it should look when completed. I finally got around to doing all the measurements today.

This stand fits my 19 1/2" weaving width Jano loom (made before the Dorothys), and also fits my friend's Structo table loom.  With some careful measurements, it could be adapted to other looms with slightly different dimensions.

We used local hard maple from a local mill for the stand.

Although we looked at photos of other loom stands, this one was designed by Bob to my specifications. If anyone makes a stand from these measurements and writes about it, please give a link back to this post.  I am sure you will love your loom so much more with this stand.  It will turn a noisy loom into one that is much quieter.


Jano Stand right end
Upright end measurements:  3 ½” w, ¾” thick, 26 ½” T
Shelf measurement:  21” L, 6 ½” w, ¾” thick
End base measurement:  2” T, 1 5/8” w, 24 ½” L
Distance between uprights (inner distance):  8 ½ “
Distance from front of base to upright:  2 ¼”
Distance from back of base to upright:  6 ¾”


Jano Stand right shelf
Shelf measurement:  21” L, 6 ½” w, ¾” thick
Hole for treadle attachment cords:  1” from edge, 1” wide, 4” L, 6 ¾” from back, 10 ¼” from front


Jano Stand left end
Upright end measurements:  3 ½” w, ¾” thick, 26 ½” T
Shelf measurement:  21” L, 6 ½” w, ¾” thick
End base measurement:  2” T, 1 5/8” w, 24 ½” L
Distance between uprights (inner distance):  8 ½ “
Distance from front of base to upright:  2 ¼”
Distance from back of base to upright:  6 ¾”
Lamm pivot attachment measurement:  ¾” thick, 3 ½” w, 8 ¾” L
Distance from under shelf to top of Lamm pivot:  5 5/8”
Cut out on Pivot attachment: 3” x 1 ½”, starting 4 ¾” from the back
¼” pivot rod, cut long enough to stick out for removal if necessary.
5 nylon washers for spacers between lamms


Jano Stand
Lamm Pivot Point


Jano Stand back
Back floor brace:  1 ¼” tall, 2” w, 30” L
Back top brace:  ¾” thick, 3 ½” w, 34 5/8” L
Lamms (4): 5/8” w, ¾” T, 33” L
Screw eyes (4): 7/8” from the end
Treadle tie-up holes (6): spaced from the screw eye end, 9”, 11 ¼”, 13 5/8”, 15 ½”, 18”, 20 3/8”  (they will be approximately 2 ¼” apart)


Jano Stand front
Back floor brace:  1 ¼” tall, 2” w, 30” L
Back top brace:  ¾” thick, 3 ½” w, 34 5/8” L
Treadle attachment blocks (2): ¾” thick, 1 ½” w, 4 ½ L
Dowel treadle spacers: 1” dowel, 1 5/8” L
Treadles (6):  ¾” thick, 1 ¼” tall, 18” L.  They taper to ½” tall at the back, from the top edge 6 ¼” from the back.
Holes on the treadles (4): ¾” center to center, starting 13” from the front.


Treadle attachment on front floor brace (centered)


Treadles showing the taper.  
Texsolv cord, standard size
Connecting treadles to lamms (at least 12):  19” each
Connecting levers to eyelets on lamms (4):  28” each

Small “s” hooks (4) for attaching cords to levers.  To remove the loom from the stand, only the “s” hooks need to be disconnected. Loop them around the shelf and hook to the cords under the shelf.  The loom and the stand are easy to transport when disconnected.